
802.3ad是实现网络负载均衡的方法之一,Ubuntu服务器版在安装时提供配置向导,如下图:
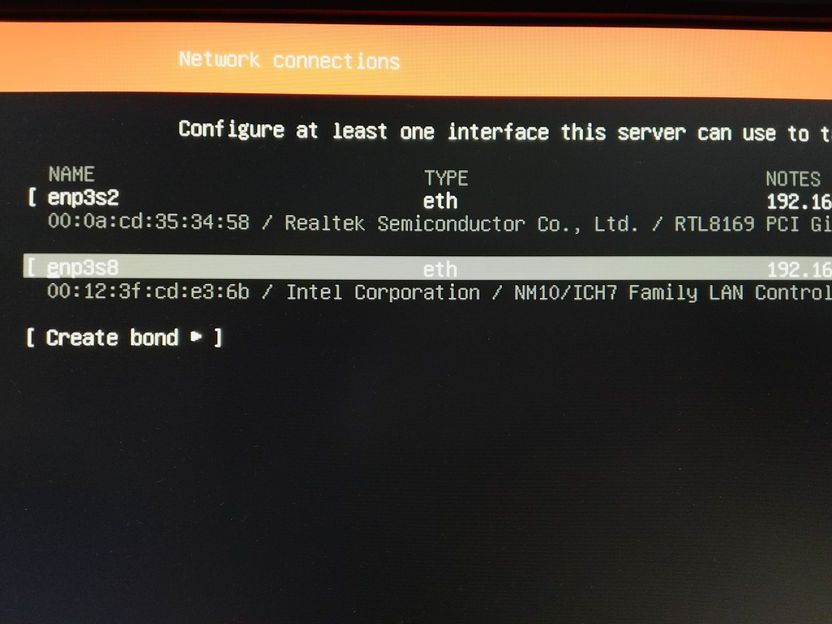
802.3ad要求网卡拥有相同的参数,而且要求有交换机端的支持,在我安装Ubuntu的时候这两个条件都不满足,所以在初次尝试的时候我选择了balance-alb,更多配置选项参见UbuntuBonding。
后来我又增加了一块基于RTL8169的网卡,于是直接修改配置文件,如下:
liang@dell5150:~$ cat /etc/netplan/50-cloud-init.yaml
# This file is generated from information provided by
# the datasource.  Changes to it will not persist across an instance.
# To disable cloud-init's network configuration capabilities, write a file
# /etc/cloud/cloud.cfg.d/99-disable-network-config.cfg with the following:
# network: {config: disabled}
 network:
     bonds:
         bond0:
             addresses: [192.168.2.3/24]
             gateway4: 192.168.2.1
             nameservers:
               addresses: [192.168.2.1,8.8.8.8]
             interfaces:
             - enp3s2
             - enp3s3
             parameters:
                 mode: 802.3ad
                 lacp-rate: fast
                 mii-monitor-interval: 100
     ethernets:
         enp3s2:
             addresses: []
             dhcp4: false
             dhcp6: false
         enp3s3:
             addresses: []
             dhcp4: false
             dhcp6: false
         enp3s8:
             addresses: [192.168.2.5/24]
             gateway4: 192.168.2.1
             nameservers:
               addresses: [192.168.2.1,8.8.8.8]
     version: 2
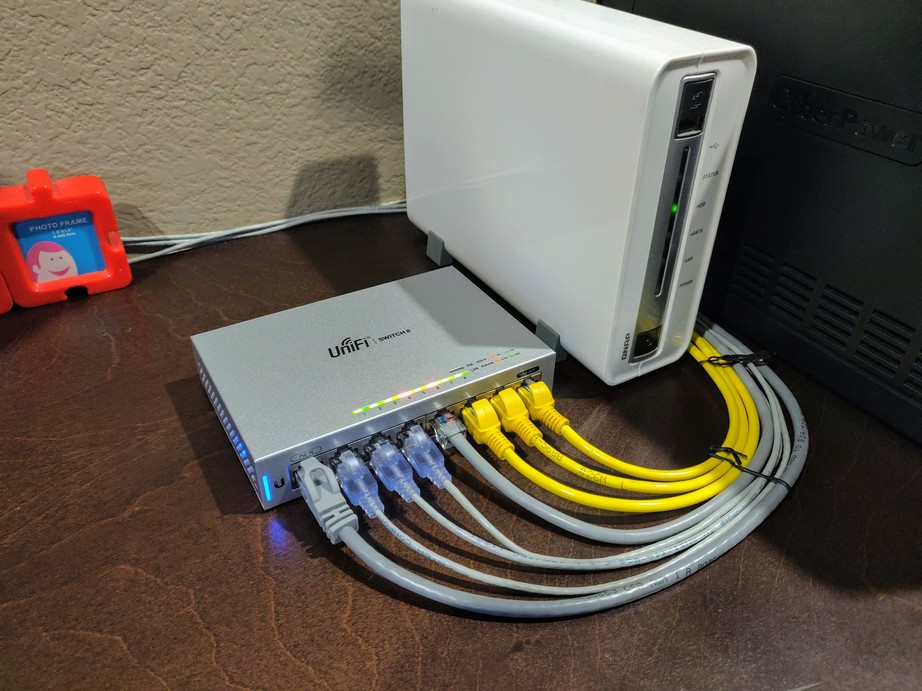
我这里将enp3s2和enp3s3合并为802.3ad,两块网卡共用一个IP地址。配置好服务器后,配置交换机,我使用的是Ubiquiti US-8-US。
都配置好后需要分别重启。然后检查服务器段配置是否生效。
liang@dell5150:~$ cat /proc/net/bonding/bond0
 Ethernet Channel Bonding Driver: v3.7.1 (April 27, 2011)

 Bonding Mode: IEEE 802.3ad Dynamic link aggregation
 Transmit Hash Policy: layer2 (0)
 MII Status: up
 MII Polling Interval (ms): 100
 Up Delay (ms): 0
 Down Delay (ms): 0

 802.3ad info
 LACP rate: fast
 Min links: 0
 Aggregator selection policy (ad_select): stable

 Slave Interface: enp3s3
 MII Status: up
 Speed: 1000 Mbps
 Duplex: full
 Link Failure Count: 2
 Permanent HW addr: 00:0a:cd:35:b8:b0
 Slave queue ID: 0
 Aggregator ID: 1
 Actor Churn State: none
 Partner Churn State: none
 Actor Churned Count: 0
 Partner Churned Count: 0

 Slave Interface: enp3s2
 MII Status: up
 Speed: 1000 Mbps
 Duplex: full
 Link Failure Count: 2
 Permanent HW addr: 00:0a:cd:35:34:58
 Slave queue ID: 0
 Aggregator ID: 1
 Actor Churn State: none
 Partner Churn State: none
 Actor Churned Count: 0
 Partner Churned Count: 0
其实这台电脑是非常老的DELL Dimension 5150,奔4双核,带一块百兆网卡,即前面看到的enp3s8。使用sudo lshw -c network可以查看网卡硬件信息,板载网卡配置如下:
*-network:2
        description: Ethernet interface
        product: NM10/ICH7 Family LAN Controller
        vendor: Intel Corporation
        physical id: 8
        bus info: pci@0000:03:08.0
        logical name: enp3s8
        version: 01
        serial: 00:12:3f:cd:e3:6b
        size: 100Mbit/s
        capacity: 100Mbit/s
        width: 32 bits
        clock: 33MHz
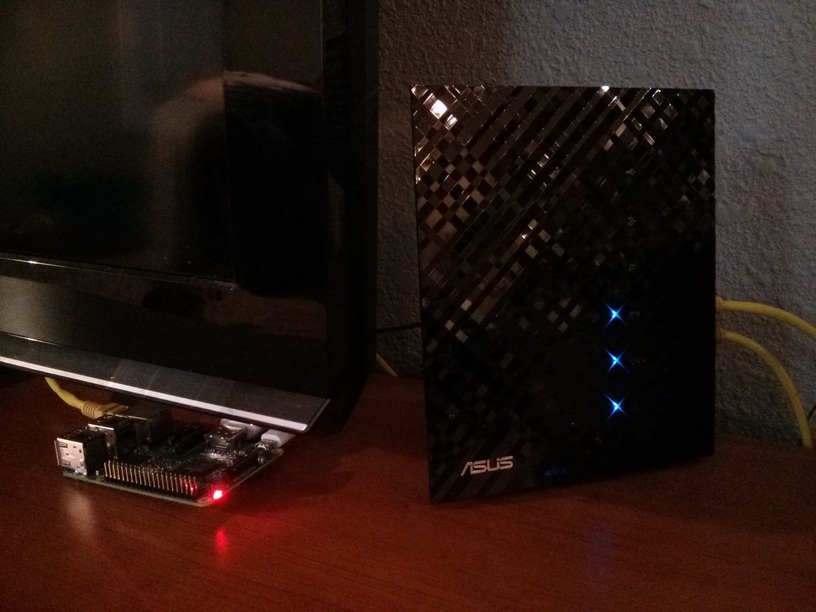
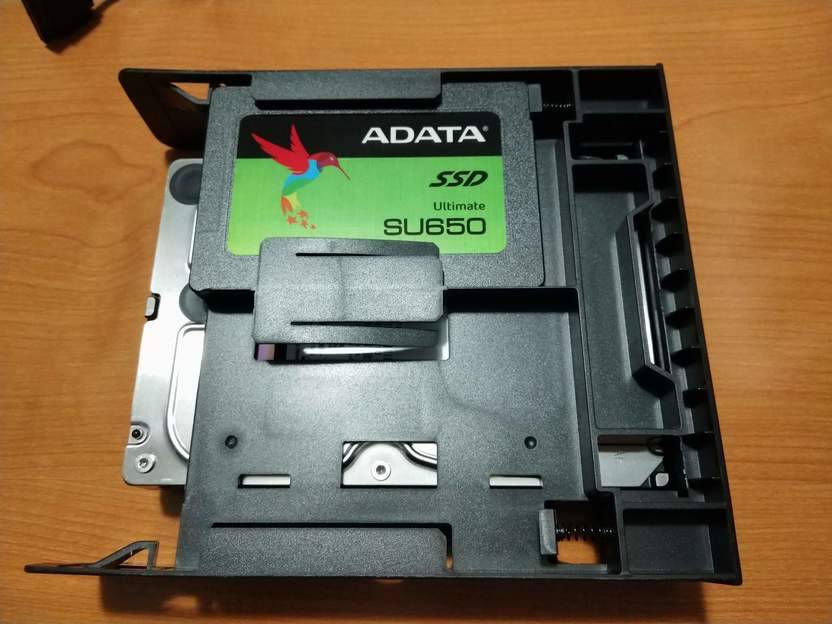
我的打算是在上面装ZoneMinder管理家里的四个网络摄像头,给主板上仅有的一个PCIe x1端口安装了一块两口SATA3转接卡,分别连接一块SSD(安装操作系统)和一块2TB西数紫盘(用于存储录像)。两块盘共存于一个5寸转接盒里,最多可以容纳一块3.5寸HDD和两块2.5寸SSD。
另外为了提升网络吞吐量,先后买了两块PCI(不带e)千兆网卡,然而PCI本身达不到千兆速度,实测约为700Mbps上下。
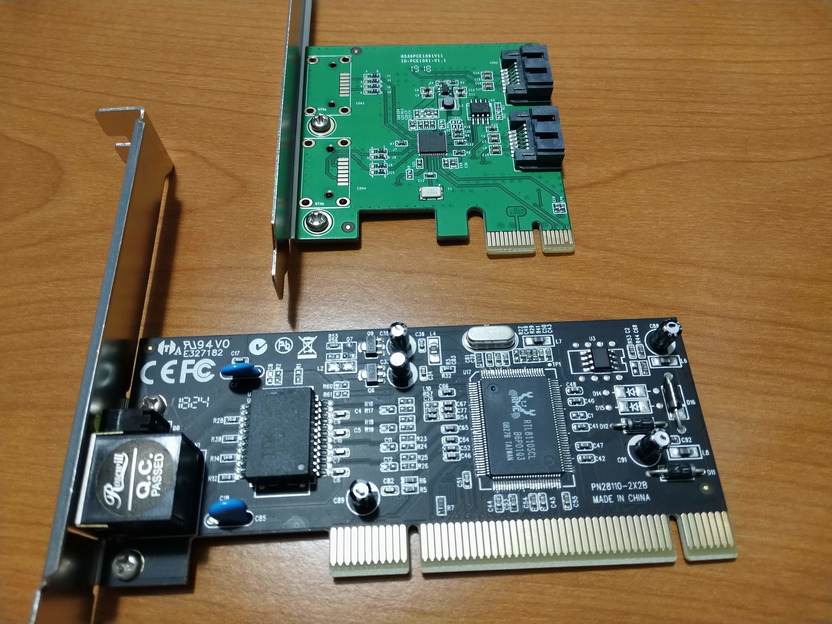
因此有了配置802.3ad的兴致。